Simple DIY Garden Markers for Your Herb Garden: Label & Organize with Style (Australia & Canada)
Hello, fellow gardeners and DIY enthusiasts in Australia and Canada! There’s immense joy in watching your herb garden flourish – the vibrant greens, the fresh aromas, and the satisfaction of harvesting your own produce. But as your garden grows, do you ever find yourself playing a guessing game: “Is this basil or mint? And is that thyme or oregano?”
That’s where DIY garden markers come in! These simple, creative projects not only help you beautifully label and organize your green oasis but also add a unique, personal touch that store-bought labels can’t match. They transform a practical need into an artistic expression, making your gardening experience even more delightful. My own herb garden used to be a tangle of mystery until I spent a weekend creating personalized markers. Now, it’s not only organized but sparks joy every time I look at it! Let’s dive deep into how you can master DIY garden markers and bring both clarity and charm to your beloved herb garden.
Creating your own DIY garden markers offers a wealth of benefits beyond simple identification. They are a blend of functionality, creativity, and sustainability.
- Clear Organization: No more guessing! Instantly identify your herbs, vegetables, or flowers, especially crucial for similar-looking seedlings. This is the primary functional benefit of garden markers DIY.
- Personalized Charm: Add your unique style and personality to your garden. Handmade markers infuse character and tell a story, making your space truly your own.
- Boosts Creativity & Mindfulness: The process of making these markers is a mindful activity, a calming craft that allows you to express your creativity and de-stress.
- Sustainability & Upcycling: Many DIY garden markers can be made from repurposed materials you already have, reducing waste and promoting eco-friendly gardening practices.
- Durable & Cost-Effective: Often, homemade markers can be more durable and significantly cheaper than store-bought options, offering long-term value.
- Enhances Garden Aesthetics: Well-designed markers serve as mini pieces of art, adding visual interest and enhancing the overall beauty of your herb or vegetable garden. (Source: Better Homes & Gardens – DIY Garden Markers Benefits)
What to Use: Creative Materials for Your DIY Garden Markers
The beauty of DIY garden markers lies in their versatility. You can use a surprising array of materials, from natural elements to repurposed items.
- Natural Materials: Wood (craft sticks, fallen branches, wooden spoons), stones, pebbles, slate, clay.
- Recycled/Repurposed Items: Wine corks, old cutlery (spoons, forks), plastic bottles, aluminum cans, tin lids, broken ceramic pieces.
- Craft Supplies: Acrylic paint, permanent markers (oil-based are best), stencils, wood-burning tools, stamps, metal punches, sealing spray/varnish, glue.
- Accessibility: Most of these materials are easily found in craft stores across Australia and Canada (e.g., Spotlight, Michaels), hardware stores (Bunnings Warehouse, Home Depot), or even around your home!
How to Make Garden Markers: 10+ Detailed DIY Ideas & Step-by-Step Guides
Ready to get crafting? Here are over 10 detailed DIY garden marker ideas, complete with step-by-step instructions and tips to help you create durable and beautiful labels for your garden.
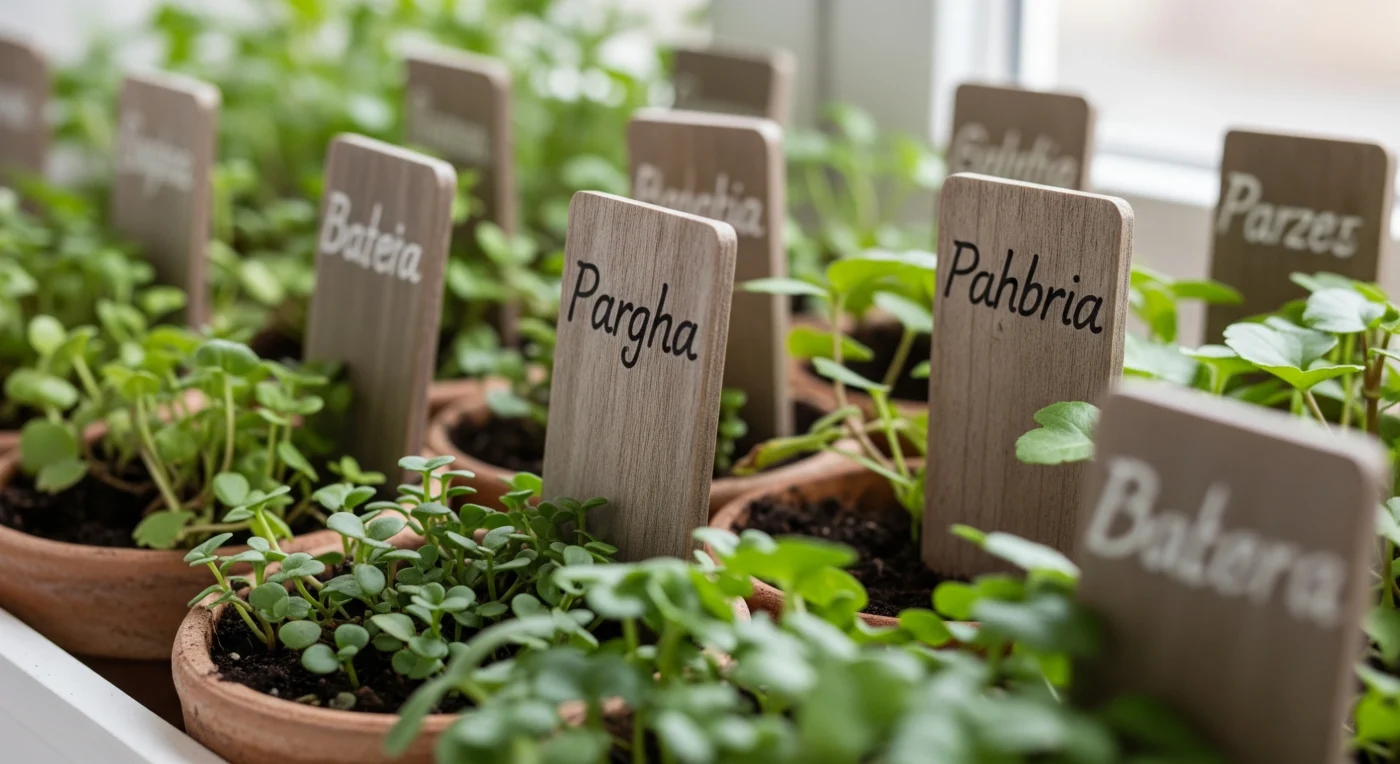
1. Wooden Garden Markers: Natural & Charming
- Why it’s great: Classic, rustic, and blends seamlessly with natural garden aesthetics. Easy to customize.
- Materials Needed:
- Wooden craft sticks (popsicle sticks for smaller herbs, larger garden stakes for veggies)
- Wood slices or small, smooth pieces of fallen branch (for more rustic look)
- Permanent markers (oil-based for durability), paint pens, or wood-burning tool
- Outdoor sealant (e.g., clear varnish, polyurethane spray)
- Step-by-Step Guide:
- Prepare Wood: Ensure wood is clean and dry. If using raw wood slices, sand edges smoothly.
- Write/Draw: Use a permanent marker or paint pen to clearly write the plant’s name. For a rustic touch, use a wood-burning tool (requires caution!).
- Decorate (Optional): Add small drawings (e.g., a basil leaf, a tomato) or patterns.
- Seal for Durability: This is crucial! Apply 2-3 coats of outdoor sealant, allowing each coat to dry completely. Ensure you coat all sides, including the part that will go into the soil. (Source: BHG – DIY Wooden Garden Markers)
- Best Use: All types of gardens, especially those with a natural or rustic theme.
Pro Tip: For extra longevity, char the end of wooden stakes that go into the soil with a blowtorch before sealing. This helps prevent rot.
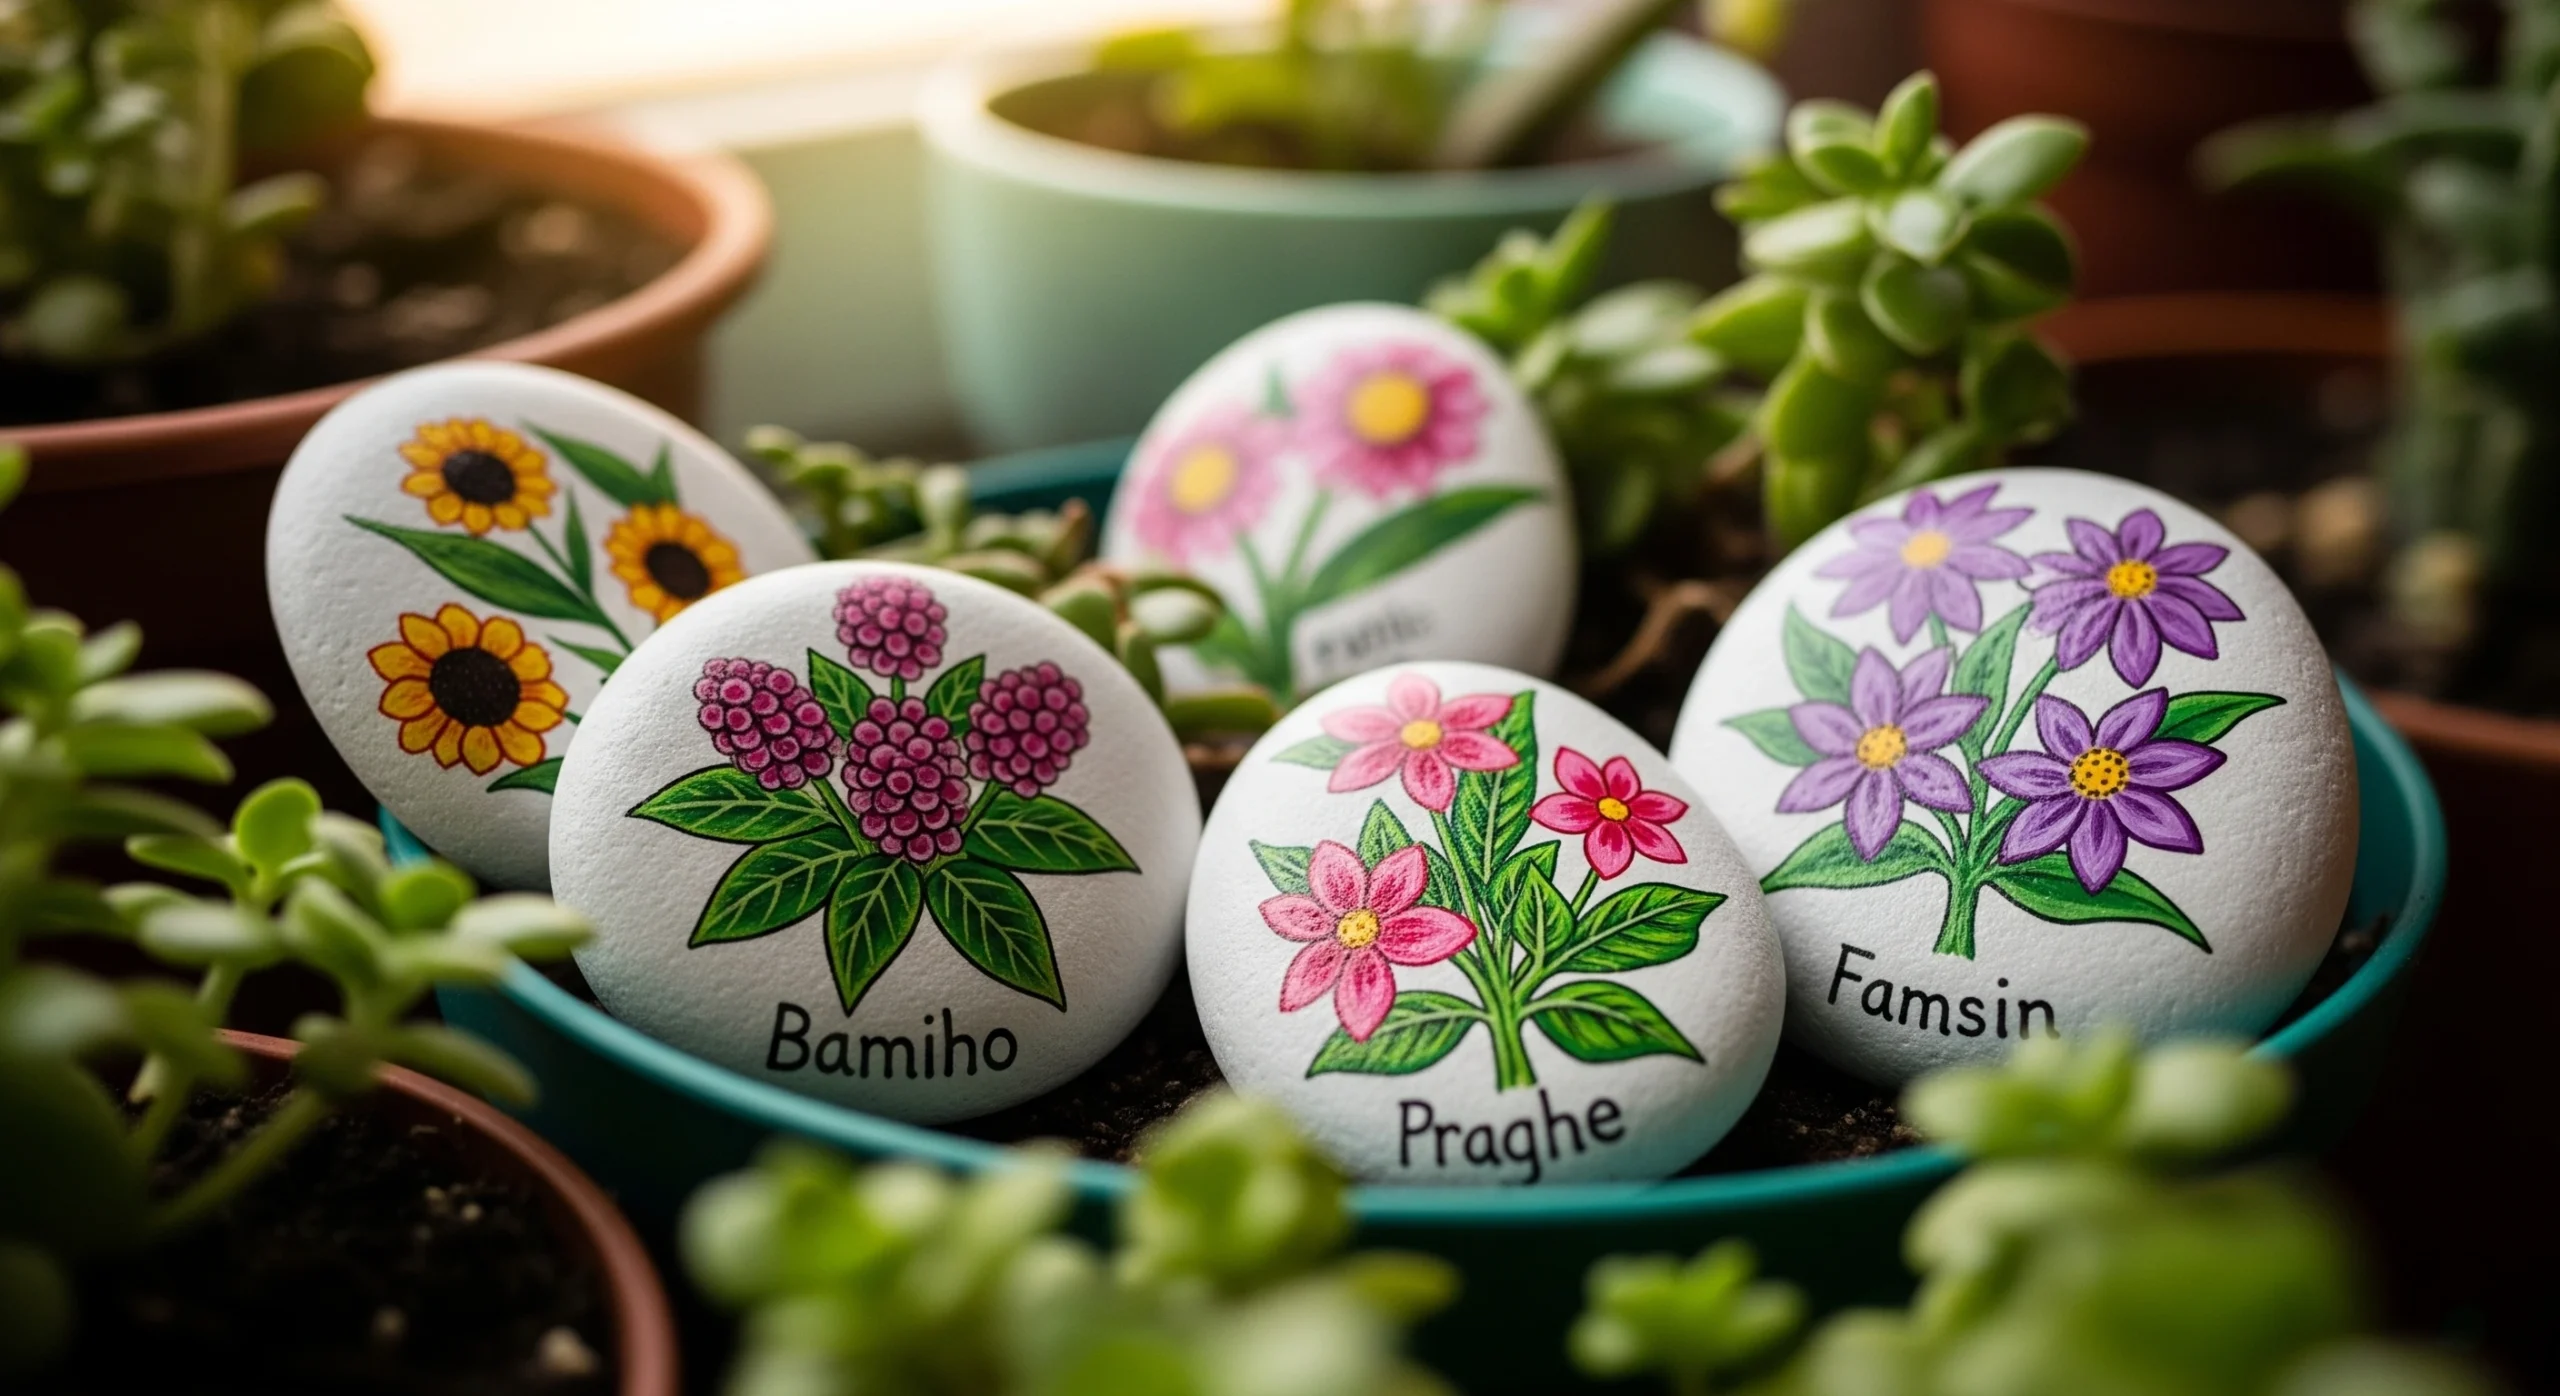
2. Painted Rock Garden Markers: Colorful & Durable
- Why it’s great: Extremely durable, long-lasting, and adds a pop of color and personality. Rocks won’t rot!
- Materials Needed:
- Smooth, flat rocks (various sizes for different plants)
- Acrylic paints (outdoor-grade if possible, or use a strong sealant)
- Paintbrushes (fine-tipped for details)
- Clear outdoor sealant (e.g., spray polyurethane, clear varnish)
- Step-by-Step Guide:
- Clean Rocks: Wash rocks thoroughly and let them dry completely.
- Base Coat (Optional): Paint a light base coat for better color vibrancy. Let dry.
- Write/Draw: Paint the plant name clearly. You can also draw a small illustration of the plant (e.g., a strawberry).
- Seal for Durability: Apply multiple coats (2-3) of clear outdoor sealant to protect paint from weather and fading. Allow each coat to dry. (Source: Gardening Australia – Painted Rock Markers)
- Best Use: Herb gardens, vegetable patches, borders, outdoor potted plants.
Personal Note: My kids in Brisbane love making these! It’s a fantastic DIY garden markers project for families, adding their artistic flair to the garden.
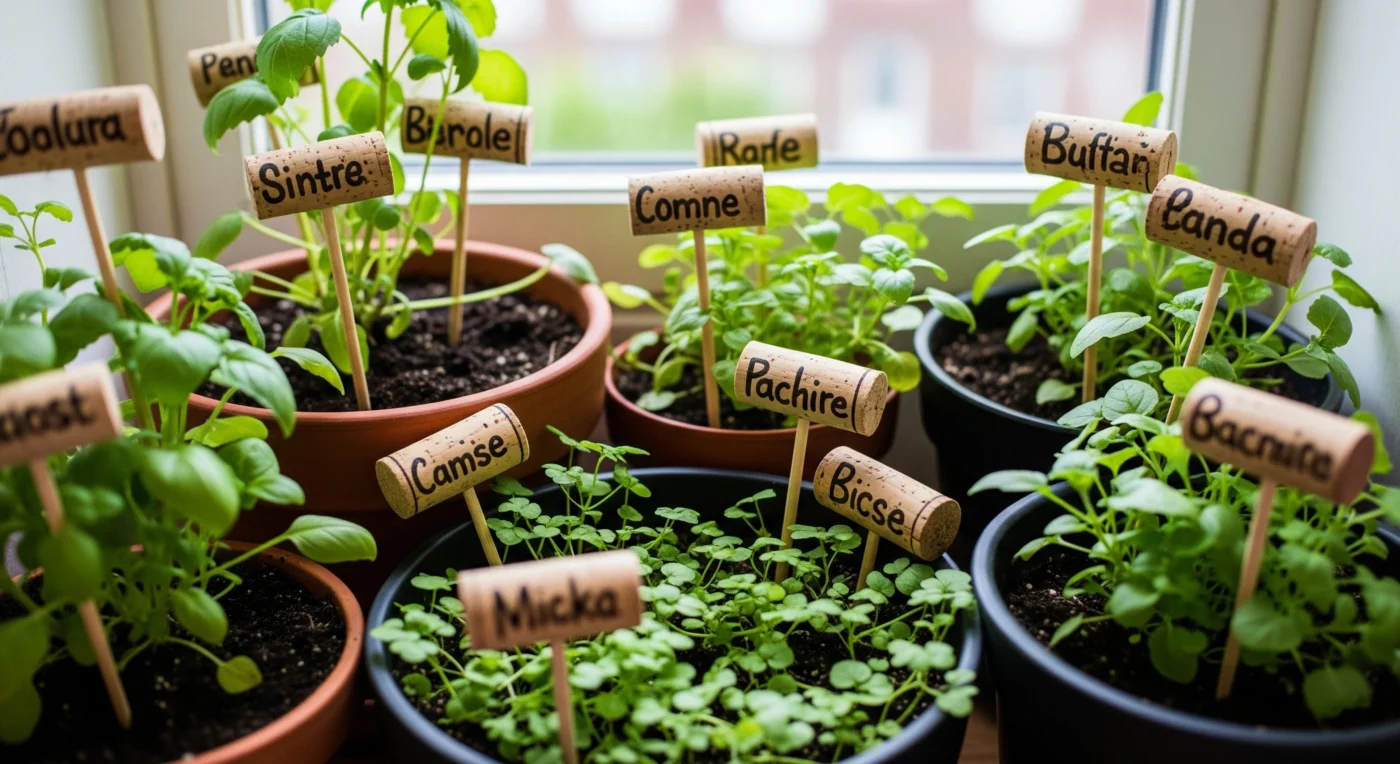
3. Wine Cork Garden Markers: Repurposed & Playful
- Why it’s great: Eco-friendly, unique, and surprisingly charming. Perfect for a small herb garden.
- Materials Needed:
- Wine corks (as many as you need markers)
- Permanent marker (fine-tipped) or wood-burning tool
- Wooden skewers or small sticks (to insert into the soil)
- Hot glue gun (or strong craft glue)
- Outdoor sealant (optional, but recommended for longevity)
- Step-by-Step Guide:
- Prepare Corks: Ensure corks are clean. You can slice them in half lengthwise for a flatter writing surface, or use them whole.
- Write: Write the plant name clearly on the cork using a permanent marker or wood-burning tool.
- Attach Stake: Hot glue a wooden skewer into one end of the cork.
- Seal (Optional): Apply a clear outdoor sealant to protect the writing, especially if the marker will be exposed to lots of rain.
- Best Use: Potted herbs, small indoor plants, container gardens.
Pro Tip: For a whimsical touch, use different coloured markers or tie a small piece of twine around the cork.
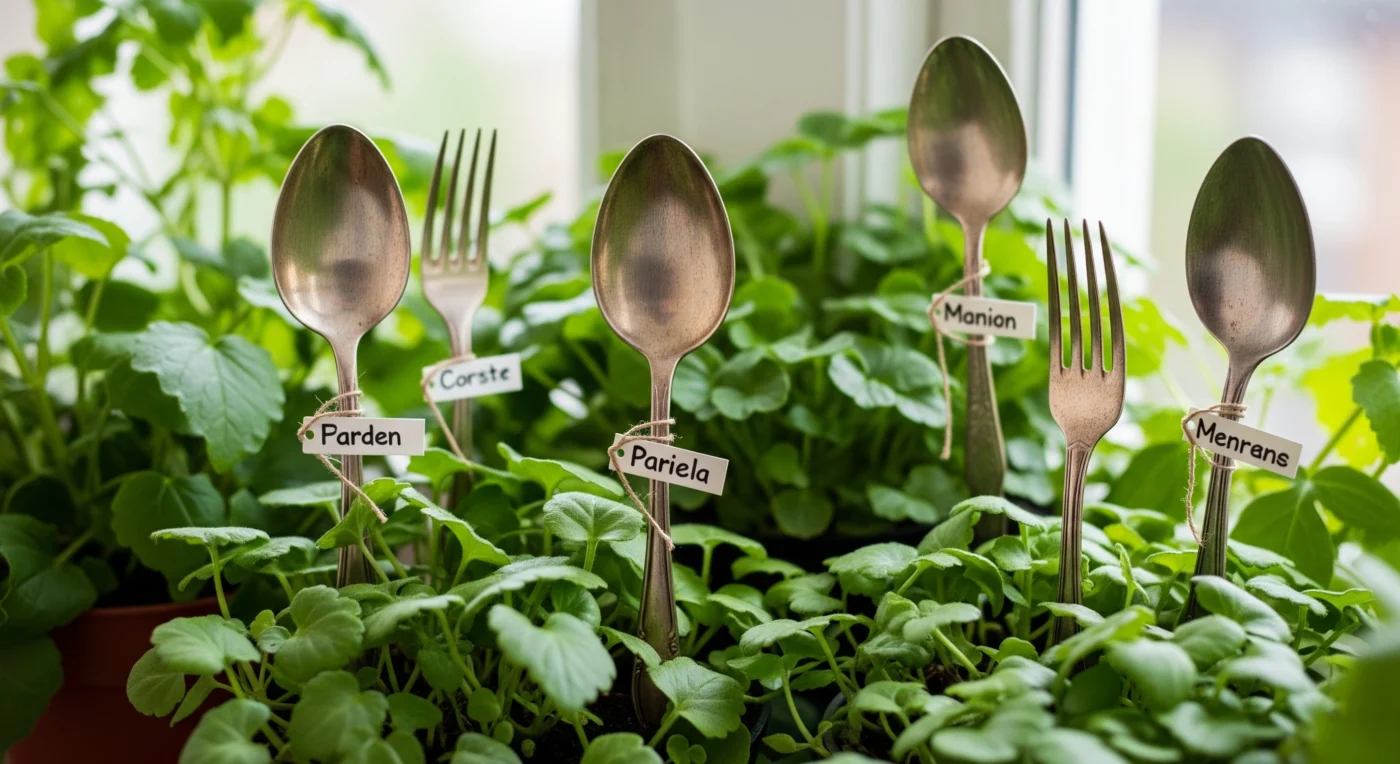
4. Repurposed Spoon/Fork Markers: Vintage & Unique
-
- Why it’s great: Adds a vintage, whimsical touch and is very durable. Great for adding personality to your herb garden.
- Materials Needed:
- Old metal spoons or forks (silverware, not plastic)
- Hammer
- Metal stamps (letters for names, or small designs)
- Steel wool or sandpaper (for cleaning/buffing)
- Dark permanent marker (optional, for enhancing stamped letters)
- Step-by-Step Guide:
- Clean Cutlery: Thoroughly clean and dry the spoons/forks. Buff with steel wool if desired.
- Flatten (Optional): For spoons, gently hammer the bowl flat to create a larger writing surface.
- Stamp Name: Use a hammer and metal stamps to carefully stamp the plant name onto the handle or flattened bowl. Practice on scrap metal first!
- Enhance Letters (Optional): Rub a dark permanent marker over the stamped letters and then wipe excess off the surface; the ink will stay in the indentations.
- Bend (Optional): Gently bend the handle of the spoon/fork to create a hook or a more artistic shape. (Source: Picket Fence Projects – Stamped Spoon Markers)
- Best Use: Herb gardens, vegetable gardens, long-term markers.
Personal Note: I found some old spoons at a garage sale in Vancouver and turned them into markers. They look so charming in my raised herb beds and have held up beautifully for years!
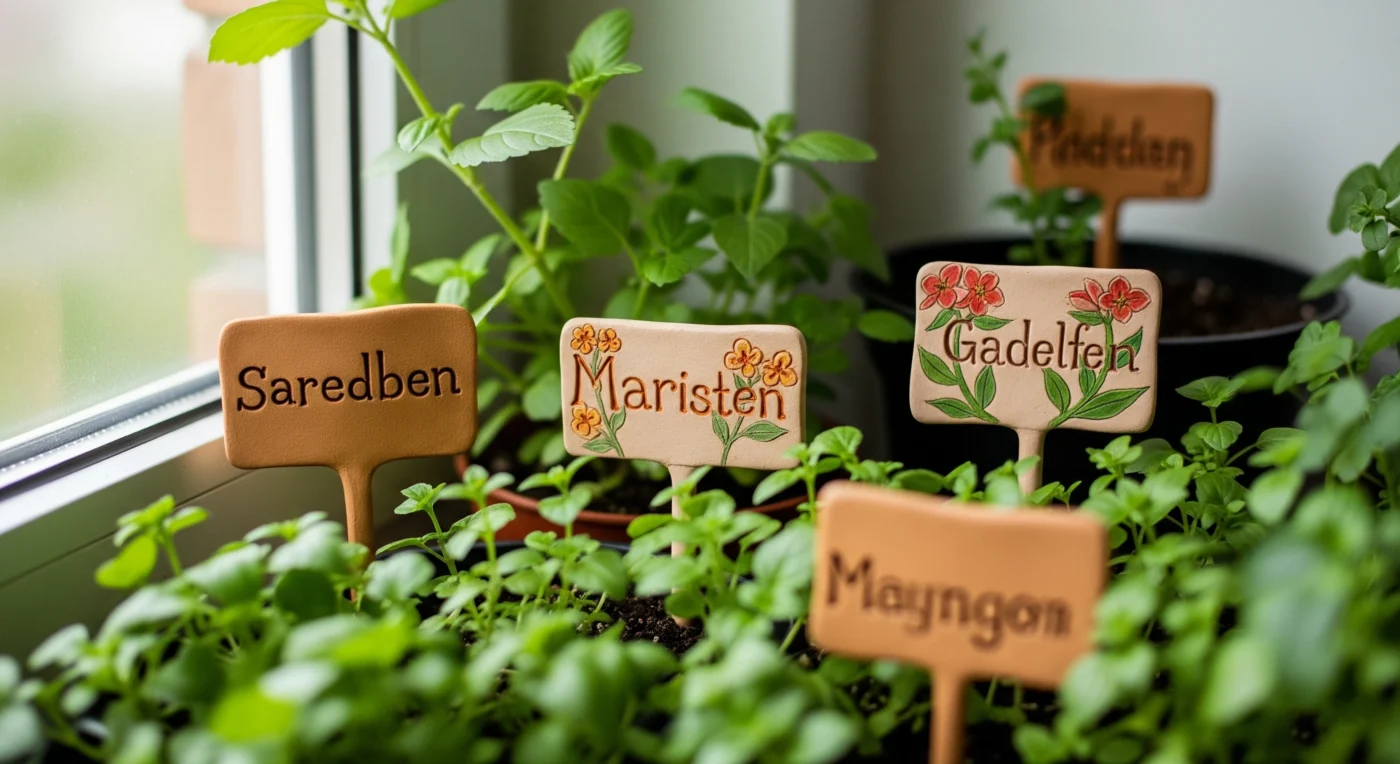
5. Clay/Polymer Clay Garden Markers: Artistic & Custom
- Why it’s great: Allows for incredible artistic freedom in shape, color, and texture. Can be very durable if properly sealed.
- Materials Needed:
- Air-dry clay or polymer clay (oven-bake clay)
- Clay tools (or household items like toothpicks, knives)
- Alphabet stamps (optional, for names)
- Acrylic paints (optional, for coloring)
- Clear outdoor sealant (crucial for air-dry clay)
- Step-by-Step Guide:
- Shape Clay: Roll out clay to desired thickness. Cut into shapes (rectangles, leaves, circles).
- Add Name: Use alphabet stamps or a tool to engrave the plant name. Add patterns or textures.
- Create Stake: Embed a wooden skewer or wire into one end, or create a pointed end directly from clay.
- Dry/Bake: Air-dry clay needs several days to dry completely. Polymer clay needs to be baked according to package instructions.
- Paint (Optional): Once dry/baked, paint if desired.
- Seal for Durability: Air-dry clay markers must be sealed thoroughly with multiple coats of outdoor sealant to withstand moisture. Polymer clay is more water-resistant but a seal adds protection.
- Best Use: Herb gardens, small decorative pots, indoor plants where artistry is key.
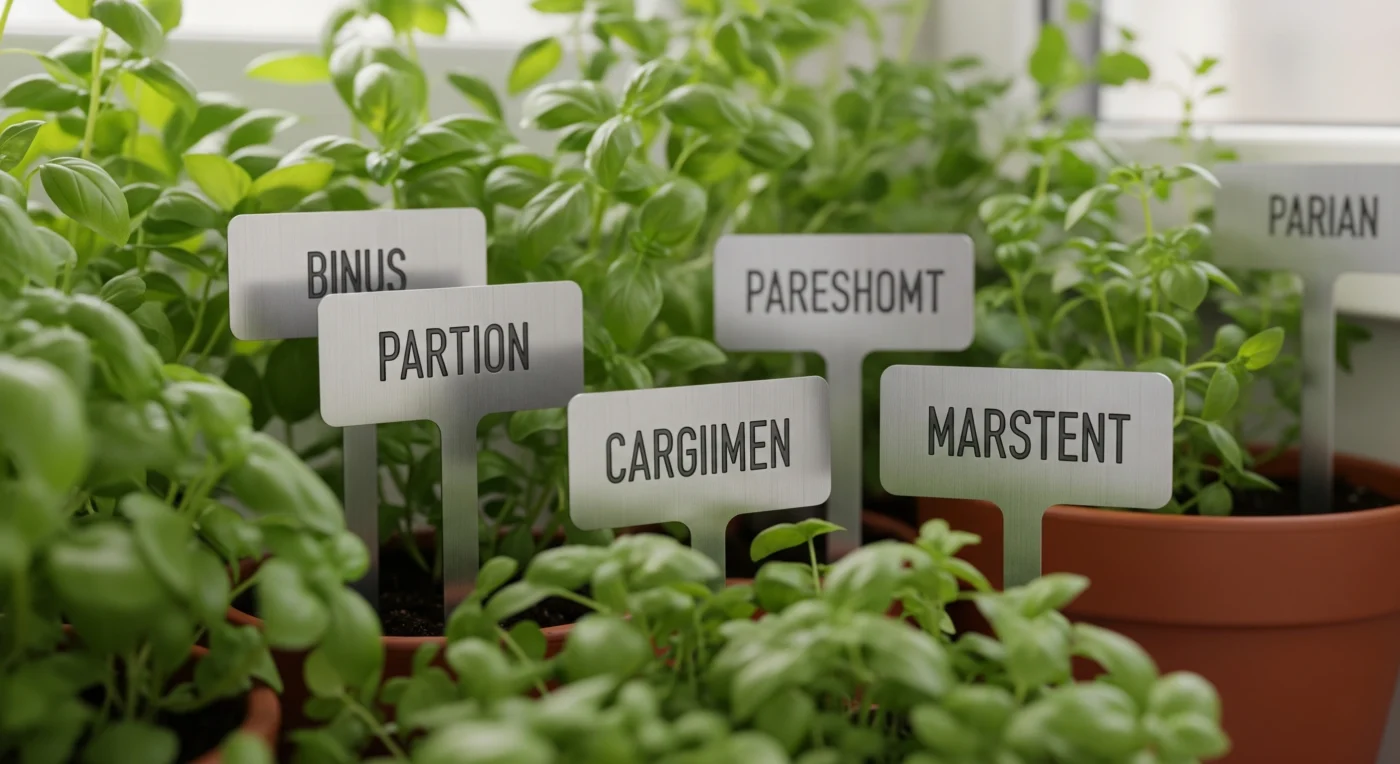
6. Stamped Metal Garden Labels: Modern & Lasting
- Why it’s great: Creates a sleek, modern, and incredibly durable marker that will last for years.
- Materials Needed:
- Metal stamping blanks (e.g., aluminum, copper, brass – available at craft stores)
- Metal stamps (alphabet and design stamps)
- Steel block or other sturdy, flat surface
- Hammer
- Hole punch (for attaching wire/chain)
- Wire or S-hooks (for hanging/attaching to stakes)
- Garden stakes (wooden or metal)
- Step-by-Step Guide:
- Position Blank: Place the metal blank on the steel block.
- Stamp Letters: Carefully align alphabet stamps and use the hammer to firmly strike each letter, forming the plant name. Keep stamps straight!
- Punch Hole: Use a metal hole punch to create a hole if you plan to hang it.
- Attach to Stake: Use wire or S-hooks to attach the stamped metal label to a garden stake.
- Best Use: Permanent labels for herbs, vegetables, shrubs. Offers a clean, minimalist aesthetic.
Pro Tip: Practice stamping on a scrap piece of metal first to get a feel for the pressure needed.
7. Simple DIY Herb Garden Markers (Specific & Unique Ideas)
- Why it’s great: Tailored specifically for the herb garden context, these ideas are often compact and charming. This is crucial for DIY herb garden markers.
- Idea A: Paint Swatch Markers:
- Materials: Old paint swatches (from hardware store), permanent marker, clear outdoor sealant.
- Steps: Cut swatch into desired shape. Write name. Seal.
- Idea B: Bottle Cap Markers:
- Materials: Clean bottle caps, permanent marker/paint, strong outdoor glue, small wooden dowels/popsicle sticks.
- Steps: Write name on inside of cap. Glue dowel to back. Seal.
- Idea C: Twig & Leaf Markers:
- Materials: Small twigs/branches, natural leaves (e.g., bay leaves, large flat leaves), permanent marker, clear sealant.
- Steps: Write name on leaf. Glue leaf to twig. Seal heavily.
Personal Note: For my indoor herb pots, I love making tiny markers from smooth beach pebbles found on the coast of Western Australia. They’re quick, natural, and never rot!
- Best Use: Small pots, indoor herb gardens, windowsill gardens.
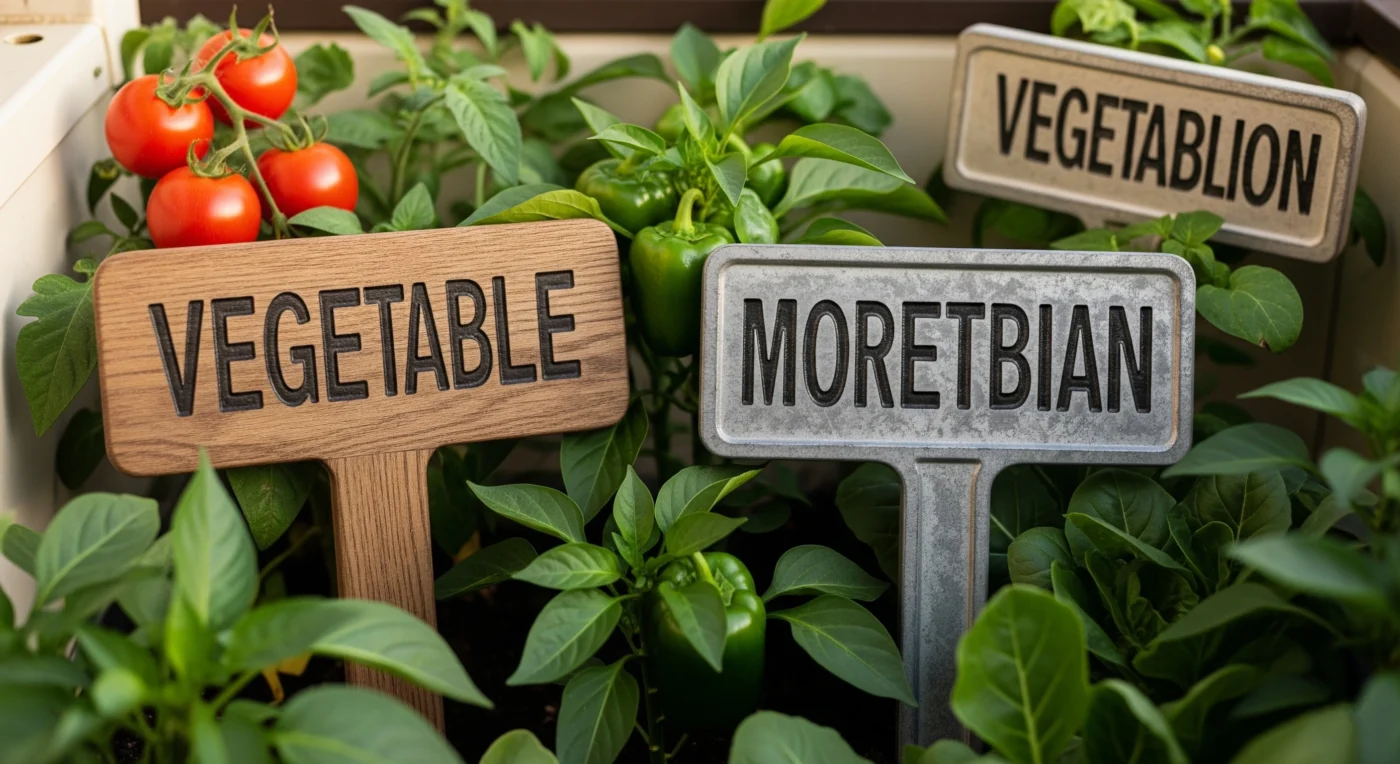
8. DIY Vegetable Garden Markers (Expand Your Labeling to the Veggie Patch)
- Why it’s great: Larger, sturdier markers needed for the vegetable patch, making organization easy for bigger plants. This focuses on DIY vegetable garden markers.
- Idea A: Cinder Block Markers:
- Materials: Small cinder blocks (or concrete pavers), paint (outdoor acrylic), stencil (optional), sealant.
- Steps: Clean block. Stencil/paint name on side. Seal. Heavy and won’t blow away.
- Idea B: Repurposed License Plate Markers:
- Materials: Old license plates (cut into strips), metal snips (caution!), metal stamps/permanent marker, hammer, sturdy stake.
- Steps: Cut plate. Stamp/write name. Attach to stake.
- Idea C: Wooden Spoon Markers:
- Materials: Old wooden spoons (the whole spoon!), permanent marker/paint, sealant.
- Steps: Clean. Write name on handle/bowl. Seal.
- Best Use: Raised garden beds, large vegetable rows, outdoor garden plots.
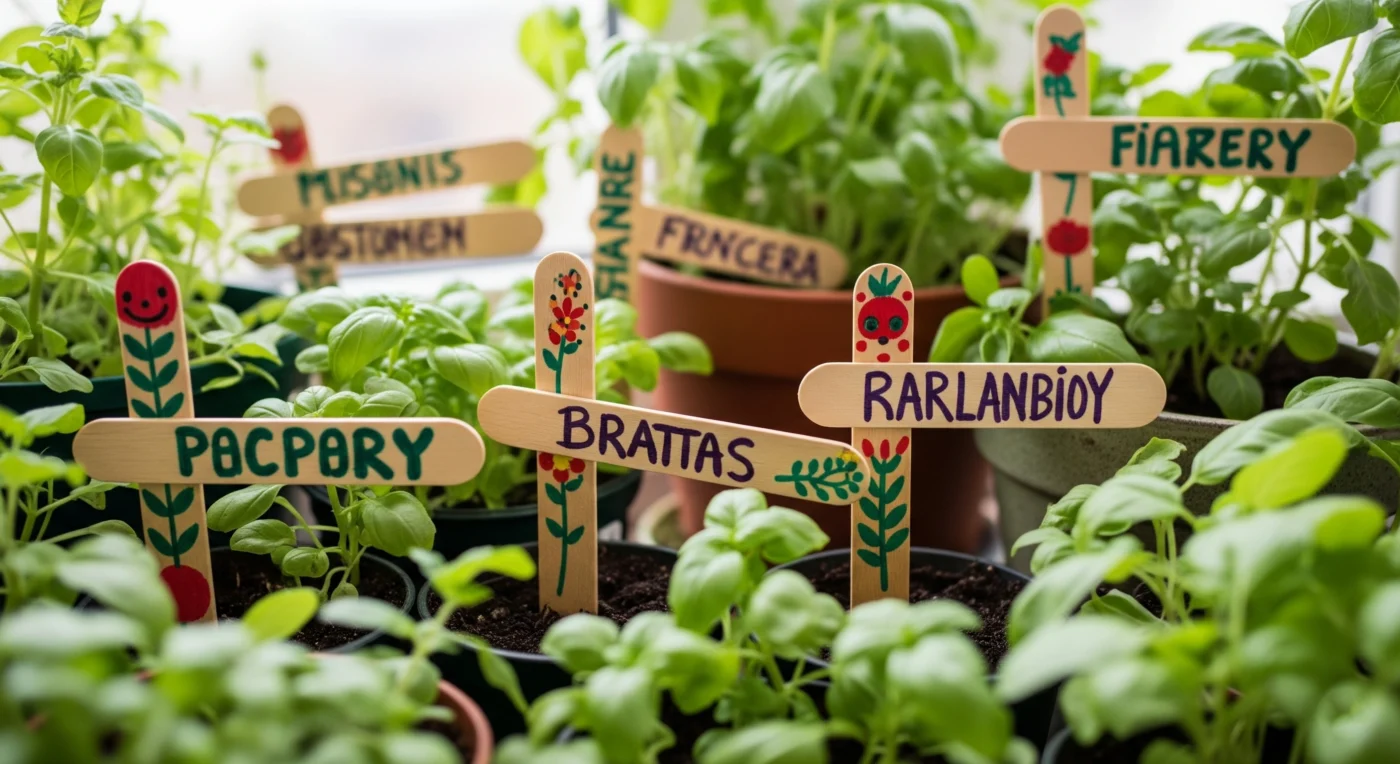
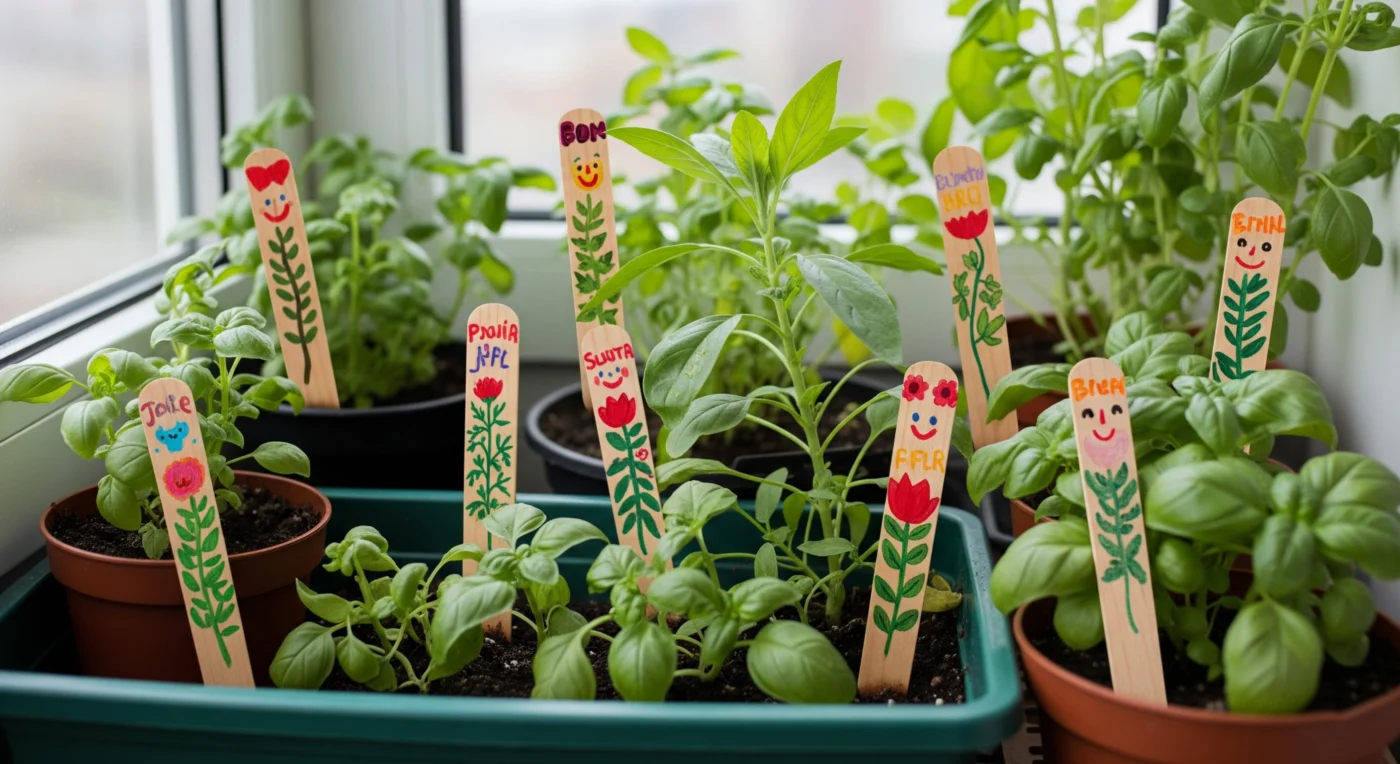
9. Popsicle Stick Plant Labels: Easy & Kid-Friendly Fun
- Why it’s great: Inexpensive, incredibly simple, and a fantastic DIY garden markers project for involving children.
- Materials Needed:
- Jumbo popsicle sticks or craft sticks
- Permanent markers (various colours)
- Acrylic paints (optional)
- Clear outdoor sealant (spray or brush-on)
- Step-by-Step Guide:
- Prepare Sticks: Ensure sticks are clean and dry.
- Write/Draw: Use markers to write plant names. Encourage kids to draw pictures of the plants.
- Seal: Apply 2-3 coats of outdoor sealant to protect from water and sun.
- Best Use: Seedlings, indoor pots, temporary markers, kids’ gardening projects. (Internal Link: Gardening with Kids: Fun & Learning)
Pro Tip: Let kids decorate them with glitter or fun patterns before sealing for extra pizzazz!
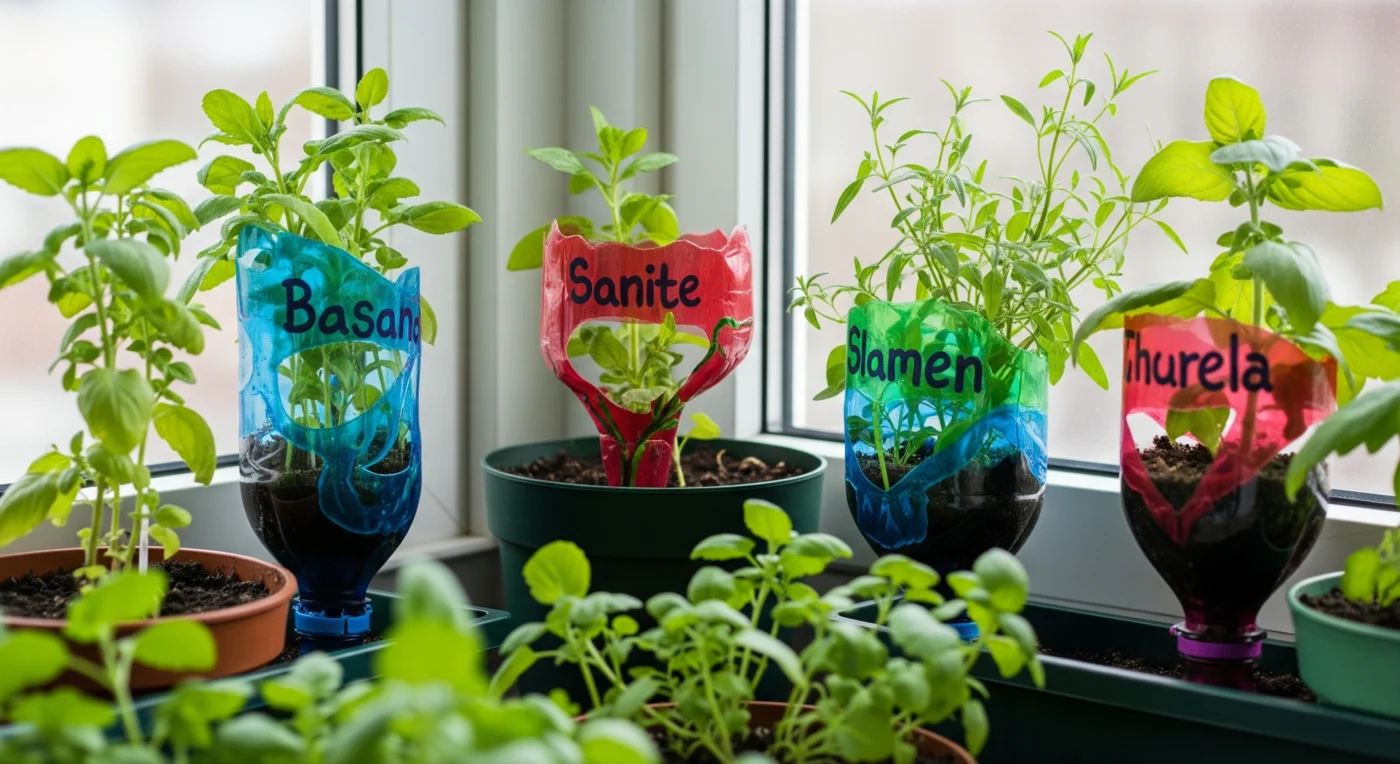
10. Upcycled Plastic Bottle Markers: Eco-Friendly & Practical
- Why it’s great: A sustainable DIY garden markers idea that reuses plastic waste and is incredibly durable and waterproof.
- Materials Needed:
- Clean plastic bottles (e.g., milk jugs, soda bottles)
- Scissors or sharp craft knife (caution!)
- Permanent markers (oil-based recommended)
- Stencils (optional)
- Step-by-Step Guide:
- Cut Bottle: Carefully cut the plastic bottle into strips or shapes (e.g., rectangles, leaf shapes). Ensure edges are smooth.
- Write Name: Use a permanent marker to write the plant name clearly. You can use stencils for neatness.
- Shape Stake (Optional): If a strip, cut one end into a point for easy insertion into soil.
- Best Use: Outdoor gardens, vegetable patches, wet environments, sustainable gardening.
Personal Note: I often use old milk jugs for these markers in my Brisbane veggie patch. They are practically indestructible and totally free!
Tips for Durable DIY Garden Markers: Making Them Last
To ensure your DIY garden markers stand the test of time (and weather!), especially in the diverse climates of Australia and Canada, follow these crucial tips:
- Sealant is Your Best Friend: For painted, drawn, or wooden markers, a high-quality outdoor sealant (polyurethane spray or brush-on varnish) is non-negotiable. Apply 2-3 coats, letting each dry completely, covering all sides. (Source: Gardening Australia – Protecting Wood Outdoors)
- Choose Permanent Markers: Use oil-based paint pens or permanent markers specifically designed for outdoor use or crafts. Regular sharpies might fade quickly in direct sunlight and rain.
- Consider the Material:
- Rocks, Metal, Plastic: Naturally very durable and weather-resistant. Excellent choices for long-term markers.
- Wood: Prone to rot. Charring the end that goes into the soil (with extreme caution!) and sealing thoroughly helps.
- Clay: Air-dry clay needs thorough sealing. Polymer clay is more robust.
- Placement Matters: If possible, place markers in a spot where they get less direct, harsh sunlight throughout the entire day, or are slightly sheltered from constant rain.
- Test Small: If you’re experimenting with new materials or paints, try a small test piece first to see how it withstands the elements before making all your markers.
- Legibility: Use clear, large lettering that won’t smudge or fade easily.

Ready to Label Your Garden with Style?
Creating your own DIY garden markers is a wonderfully rewarding project that combines practicality with artistic expression. It’s an accessible way to personalize your herb or vegetable garden, ensuring clarity, adding charm, and enjoying the mindful process of making something beautiful and functional.
So, gather your materials, pick your favorite ideas from above, and start crafting your custom plant labels today in Australia or Canada! Your organized and stylish garden awaits.
Which DIY garden marker idea are you most excited to try first, and what herbs will you be labeling? Share your plans and creative ideas in the comments below!
Pingback: 20+ Creative Indoor Plant Styling Ideas (AU/CA) - zenplanttherapy
Reading this is like following sunlight through shifting leaves. Details appear subtly, creating illumination that is gentle, revealing, and endlessly engaging.